

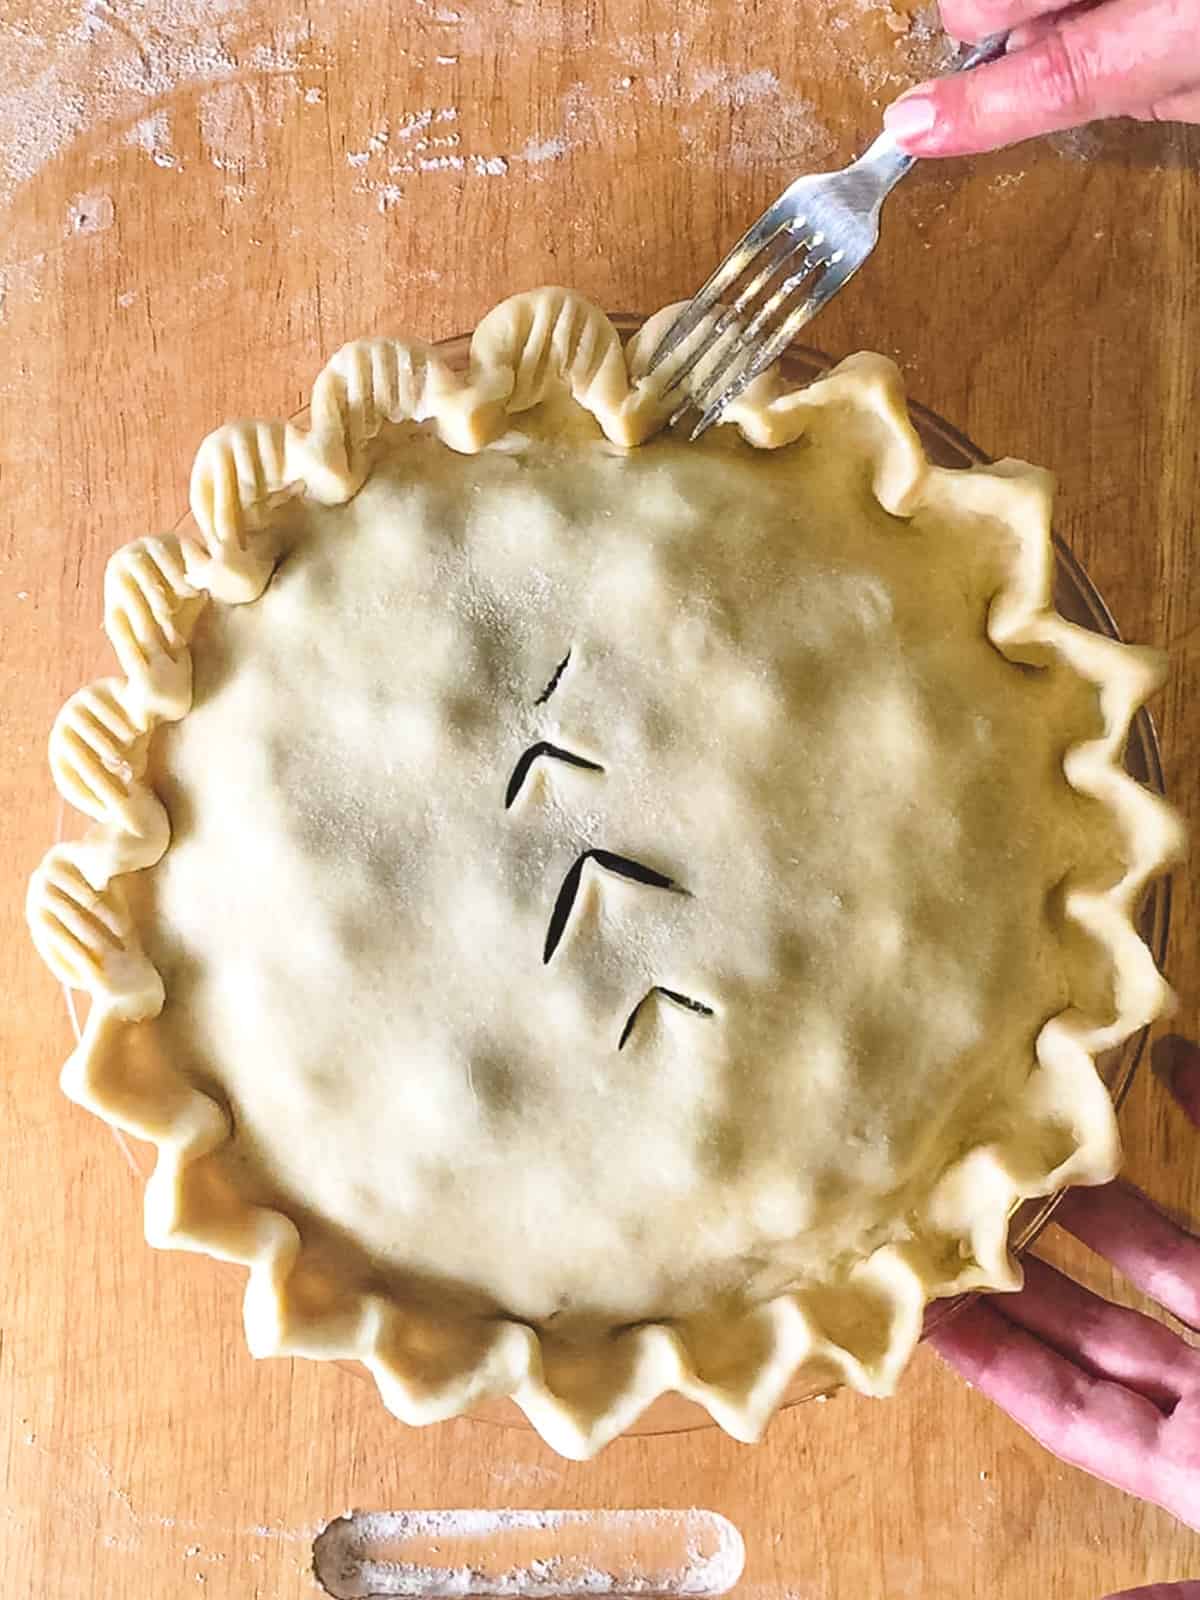
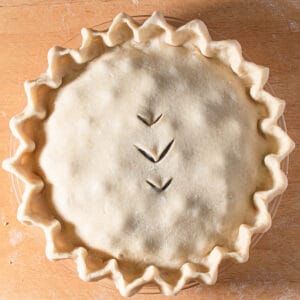
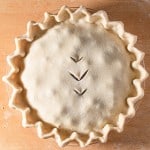
This is a classic Flaky Pie Crust that can be used for all your pastry needs big and small. This recipe uses all butter and makes enough for one double crust pie. It's flaky, crispy and delicious so keep reading to find out just how easy it is to make!
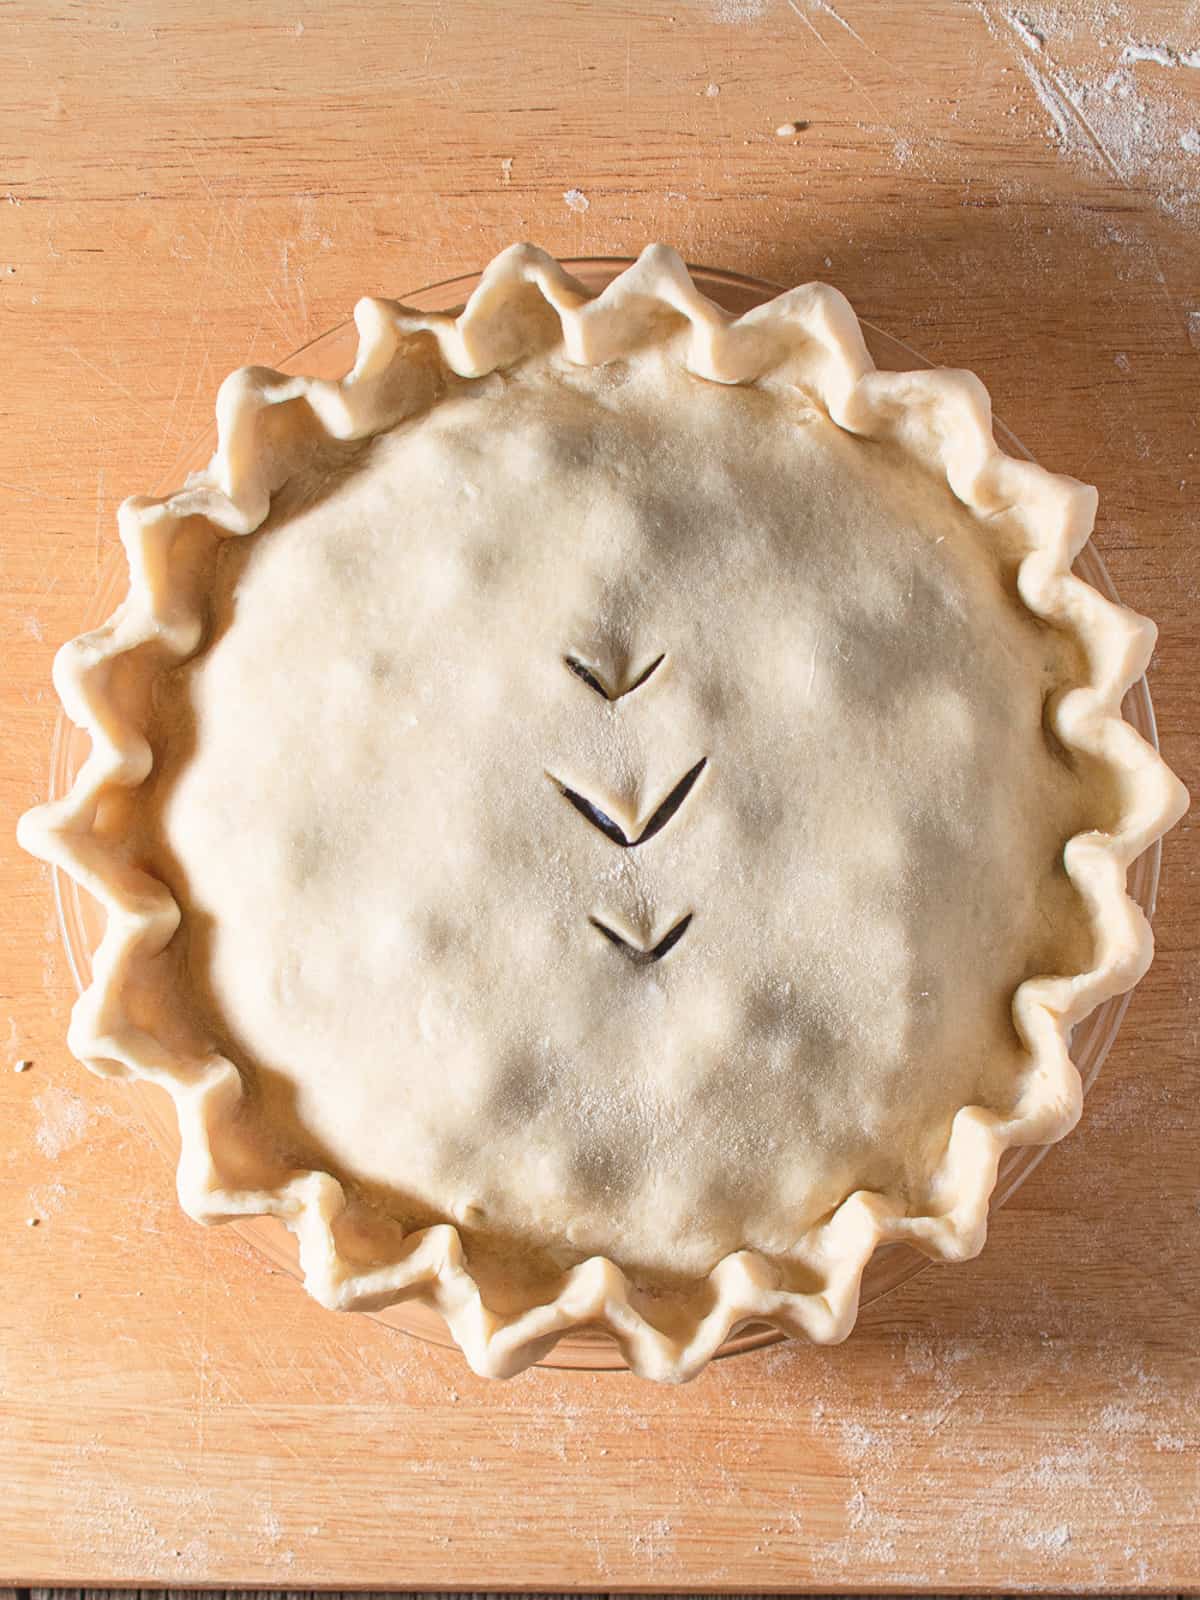
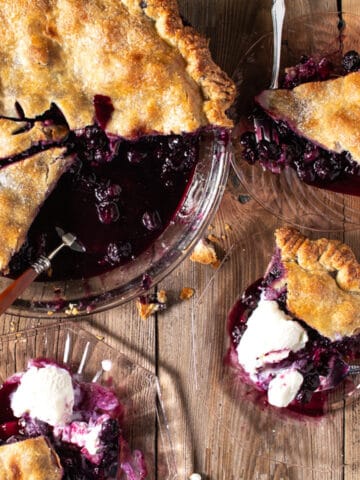
For step-by-step photos on how to roll the dough and make a pie take a look at my Double Crust Blueberry Pie recipe.
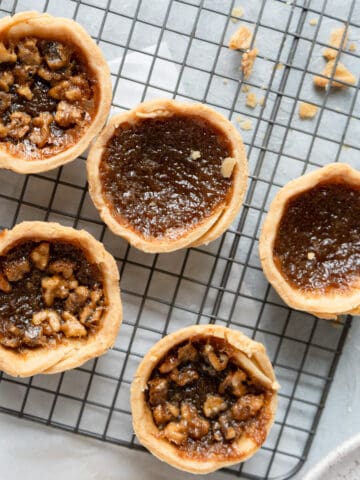
Want more easy dessert recipes? Try these delicious Cocoa Powder Brownies and Coconut and Mango Panna Cotta. And if you love all things pastry you must try these delicious Maple Butter Tarts!
Jump to:
Why you will love this recipe
✅Simple: This recipe uses just a few basic ingredients: flour, butter, salt, and water. This makes it approachable for both experienced bakers and beginners.
✅Flavorful: Butter has a rich and delicious flavor which imparts a wonderful buttery taste to the crust.
✅Golden and Crispy: This pastry has a beautifully golden and crisp finish, which makes it visually appealing.
✅Versatile: An all butter pie dough works with all types of pie fillings, from sweet to savory.
Ingredients
Unsalted butter - I prefer to use unsalted butter because of it's lower water content. If you decide to use salted butter be sure to omit the salt or reduce to ½ a teaspoon. The amount of salt is a personal preference to adjust to your own taste.
All purpose flour - Bleached or unbleached flour work equally well for this recipe. You can also use half whole wheat flour. Make it gluten free by replacing the flour with the same amount of a gluten free all purpose flour.
Sugar & Salt - Both are added for flavour.
Water & Vinegar - A small amount of white vinegar is added to help reduce gluten formation which can result in a tougher dough. Water binds everything together.
How to make a Flaky Pie Crust
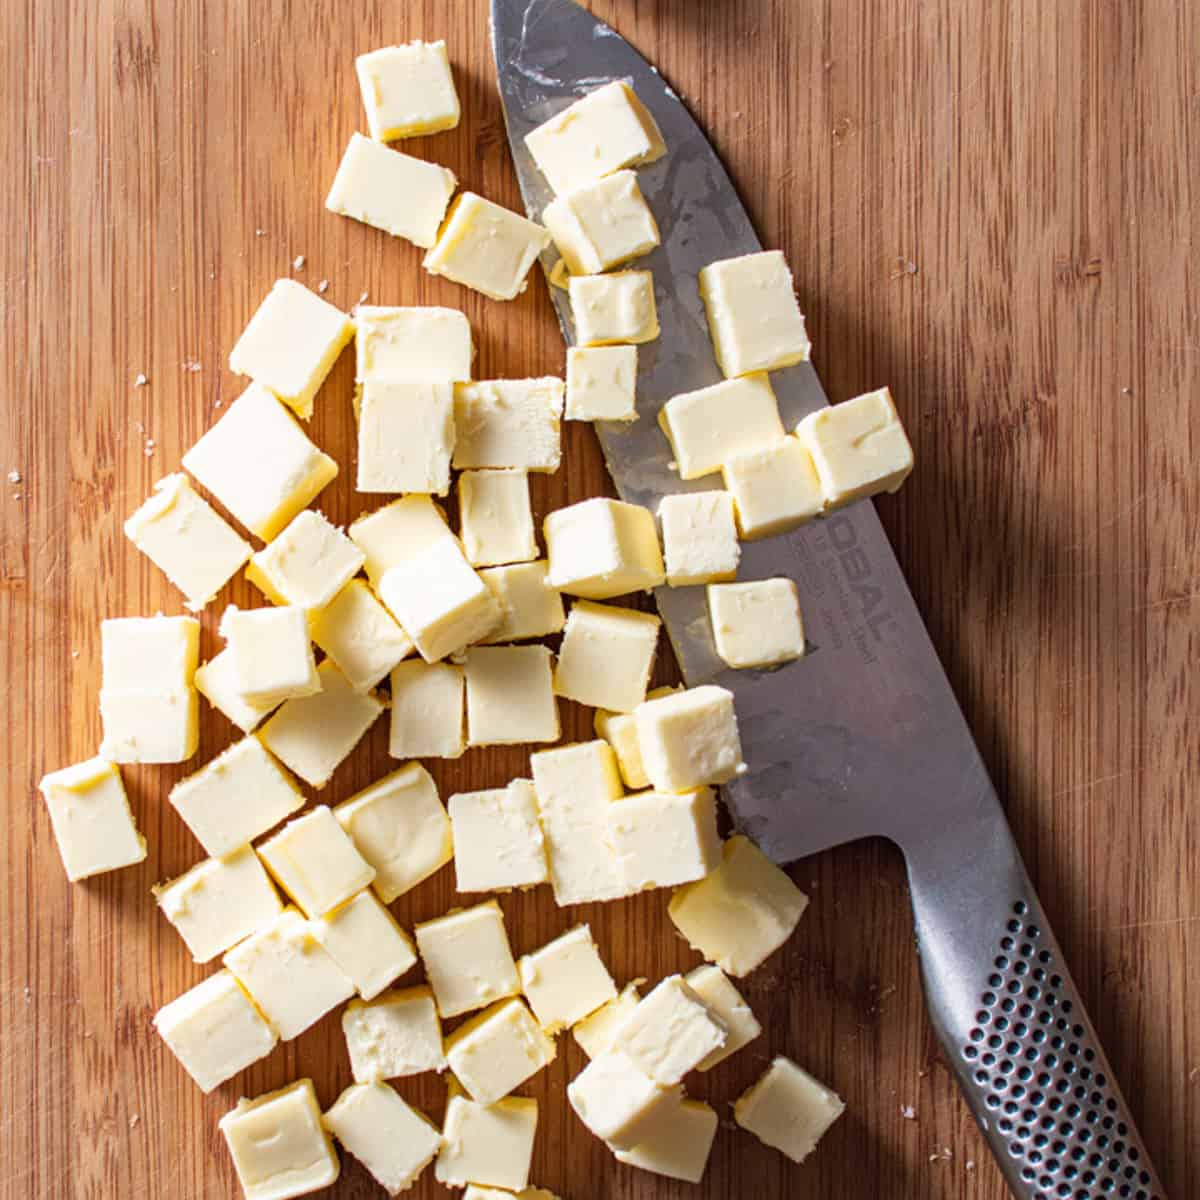
Step 1 - Cut cold butter into approximately ½ and inch cubes.
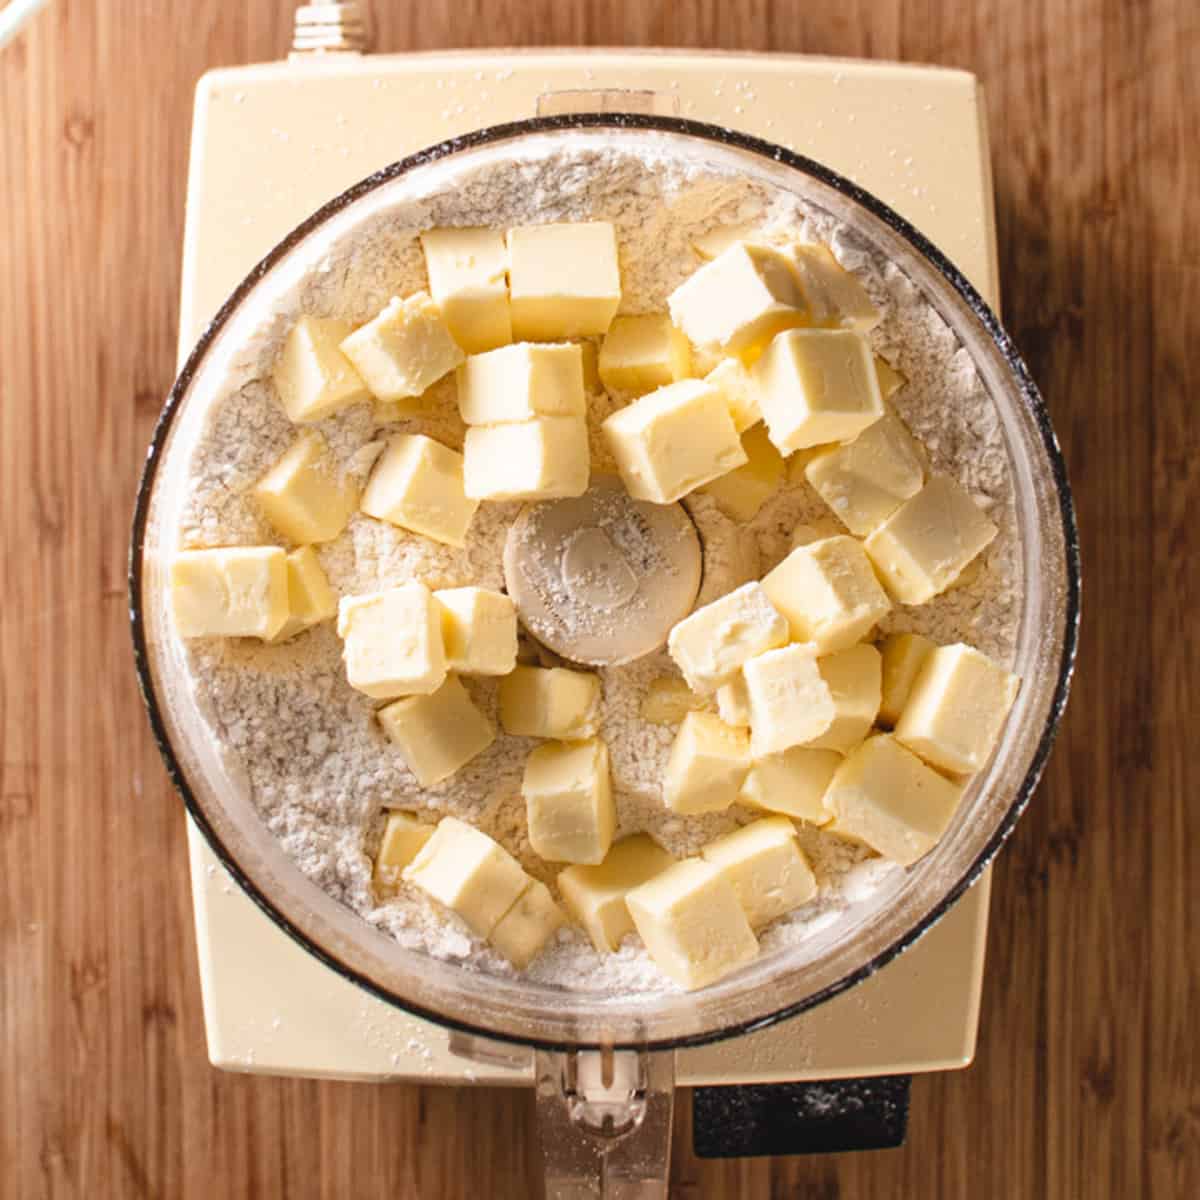
Step 2 - Add flour, sugar and salt to the bowl of a food processor (if you don't have a food processor see below for instructions.) Pulse 2 or 3 times to mix dry ingredients together. Add cold butter cubes.
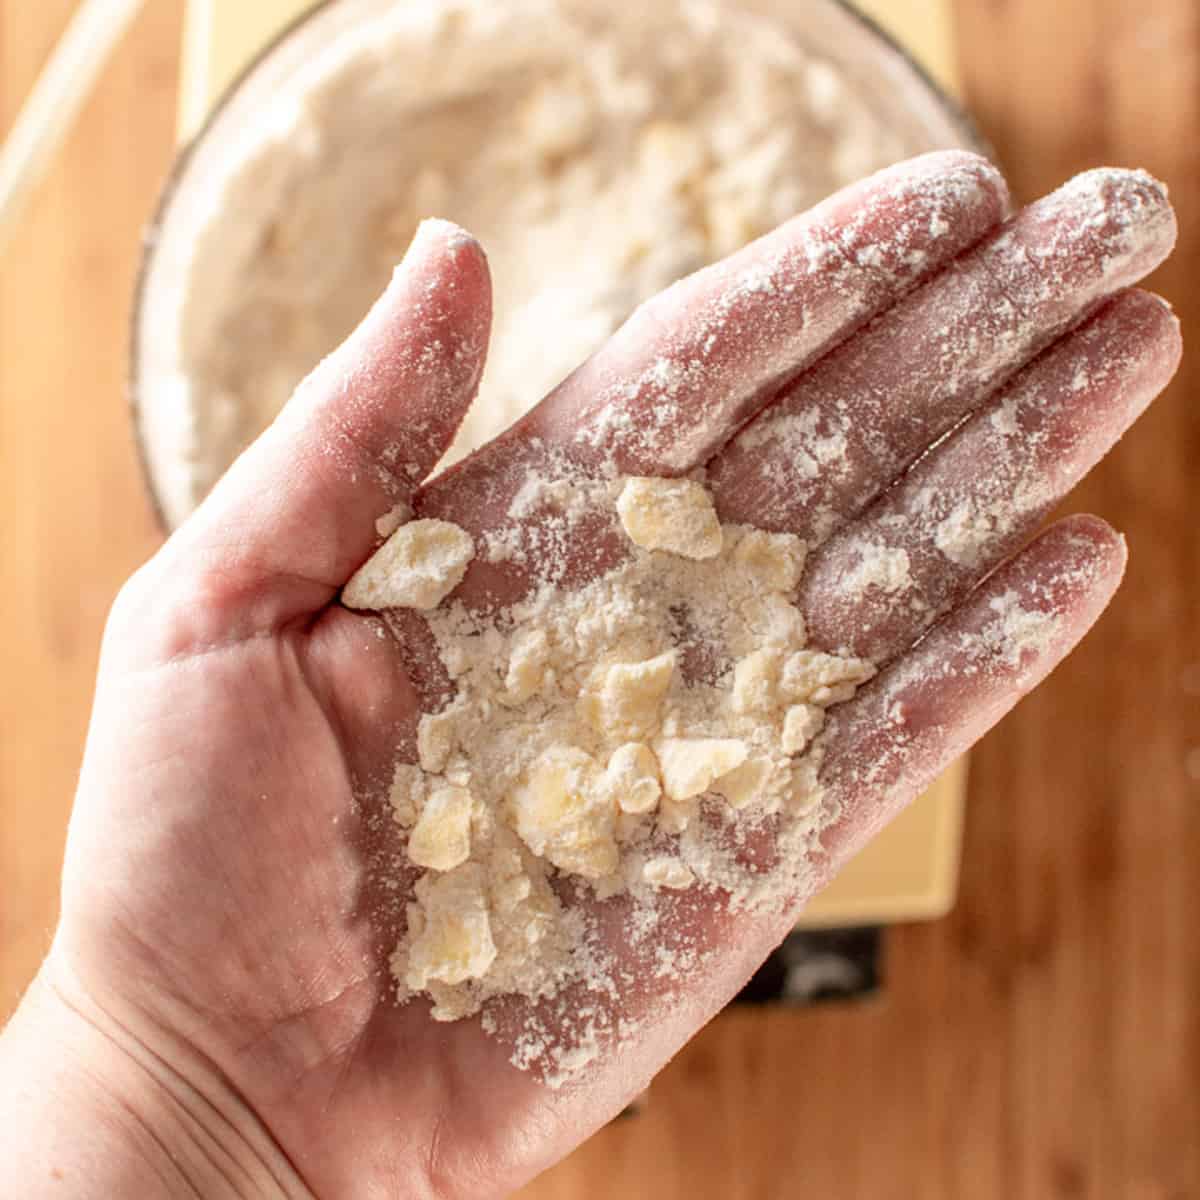
Step 3 - Continue pulsing until the butter is broken down into small pieces similar to green or chickpeas.

Step 4 - With the machine off, add the cold water and vinegar mixture. Pulse until the dough just comes together.
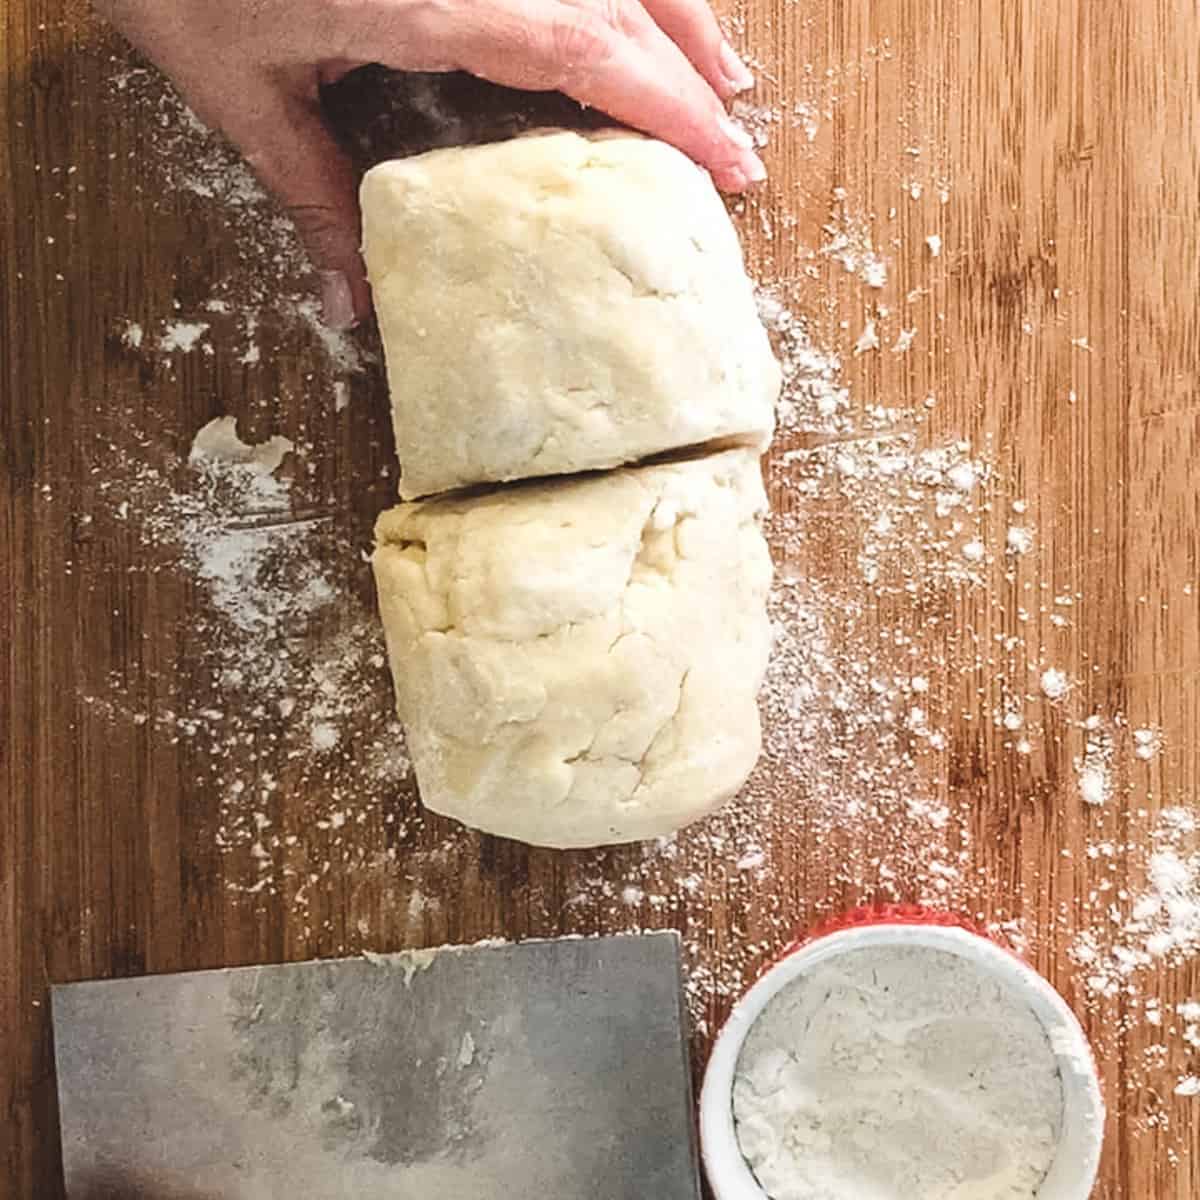
Step 5 - Turn the dough out onto a lightly floured surface and shape into a short log. Cut in half.

Step 6 - Flatten each half into a round disk. This helps later to get the rolling process started. Wrap with plastic wrap and refrigerate for a minimum of 30 minutes and up to 3 days. Remove dough from fridge 30 minutes before rolling. You can also freeze it for a later date. Let frozen dough defrost in the fridge overnight.
Want to know what to do with your pastry next? Check out my step-by-step recipe for Homemade Blueberry Pie.
Expert Tips
Use cold unsalted butter for best results. Unsalted butter has a lower water content than salted butter. Cold butter prevents it from melting while you are making the dough.
Using a food processor allows for minimal handling of the dough. The warmth of your hands can soften or melt the butter, especially on a warm day. It also helps everything come together quickly and easily.
Visible butter pieces are what creates the flakes in your flaky pie crust. During baking the butter melts and creates steam, forming little air pockets. So if you mix the butter in too much you won't have any flakes. This is one of the most common mistakes made when making pastry. The pieces of butter will be all different sizes but as long as you can see some pieces the size of chickpeas or green peas you are on the right track.
Chill the dough before rolling. This is very important to make sure the gluten has time to relax and the butter stays cold.
Make a double batch so you have pastry in the freezer for the next time you want to make a pie.
Recipe FAQs
Mix together the flour, salt, and sugar in a large bowl. Add the cold, cubed butter to the flour mixture. Use your fingers to break the butter into smaller pieces by rubbing them between your thumbs and forefingers or use a pastry cutter. Add the liquid and stir with a wooden spoon. When it is too hard to continue stirring turn it out onto a lightly floured surface and gently bring it together with your hands.
The secret to making flaky pie crusts is to keep all your ingredients cold so that the butter stays in visible small pieces. As the pie bakes, these butter pockets will melt, forming tiny air pockets that are responsible for the desired flakiness.
For a flaky and crispy pie bottom preheat a baking stone or tray in the oven before baking the pie. That way the bottom of the pie will heat and start baking quickly.
The acid in vinegar helps inhibit the formation of excessive gluten strands, leading to a more tender and flaky crust.
More Dessert Recipes
📖 Recipe
Flaky Pie Crust
Ingredients
- 227 g / 8 oz unsalted butter, cold
- 2 cups all purpose flour
- 2 tablespoon white sugar
- 2 teaspoon salt, Kosher
- 100 mls/3 oz ice cold water
- 1 teaspoon white vinegar
Instructions
- Place the flour, sugar and salt in the bowl of a food processor. Pulse 3-4 times just to combine.2 cups all purpose flour, 2 tbsp white sugar, 2 tsp salt, Kosher
- Take the butter out of the fridge and cut into small cubes. Add to the flour mixture. Pulse until the butter is broken down into green pea - chickpea size pieces.227 g / 8 oz unsalted butter, cold
- Remove the lid and pour in the ice cold water and vinegar. Pulse until the dough comes together.100 mls/3 oz ice cold water, 1 tsp white vinegar
- Turn out onto lightly floured board or counter top. Shape into a short log and divide equally in half. Press each piece into a flat disk and wrap with plastic wrap. Let chill in fridge for at least 30 mins and up to 3 days.
If you enjoy my recipes, you'll love the 80+ full-colour dishes in my cookbook. It ships FREE to Canada and the U.S., and supports independent creators like me. See inside →
Notes
- Dough can be frozen for 3 months. Let thaw in fridge overnight.
- If you don't have a food processor you can follow the steps using your hands to break the butter into small pieces. Use a wooden spoon to stir in the water and vinegar and when it becomes too hard to stir turn the dough out onto the counter and gently bring together with your hands.


Sharon Waugh says
Andrea I have always used my Mother's pastry recipe using lard. I used your recipe for Thanksgiving apple pie. Big hit with a large crowd! Also why did it take me so long to try using my good processor?? So much easier!! You are such a clever and talented daughter!
Andrea says
Thanks Mom! I don't know why it took you so long either! So happy everyone enjoyed it
Linda M Barretto-Burns says
Hey Andrea,
Can you provide weights for the measurements? I would prefer to make a pound of butter of pastry at a time, but the math doesn't quite work out does it?
Linda
Andrea says
Hi Linda! I just went in and edited the recipe to include the weight for the butter. You can click on the number of servings to double it to use one pound of butter. Note that it will only increase the first weight number which will be in grams so if using ounces it will remain at 8 oz but should be 16 oz if doubling the recipe. Hope that helps!
Kim says
Thanks for yet another great recipe Andrea. I love the way you are putting the ingredients right in the method part of the recipe! This makes it so much easier when working directly from my ipad as it eliminates the need to scroll back and forth and then having to clean my screen. So glad I met you while doing the Livy program. (Am still at my goal even while eating pie!!)
Andrea says
I'm so happy you are enjoying the updates to the recipes Kim! I'm so happy you found me too. Thanks so much for your continued support!
Claire Barrette says
Hi Andrea, I want to make this pie crust soon, it looks so good. I have two questions:
1. I have a Kitchen Aid Artisan, can I use the dough hook to mix the dough or if it is better to mix by hand according to your instructions?
2. Is this dough recipe ok for meat pie (tourtière)? Should I omit the sugar?
Thank you, love your recipes and learning a lot.
Andrea says
Hi Claire!
Yes this dough is perfect for savoury as well! Especially tourtière! If you want to make sure the pastry is flaky I recommend doing it by hand unless you have experience using that type of mixer for pastry making. Hope you enjoy it!
Kathrine McMenemy says
Hi, Andrea,
New to program but I've just printed out a few of your recipes. Just a thought. When I print out the Recipe Only, your name is not anywhere, so I just thought maybe you could put it on so when we look at printout later, we know where it came from. You should get the credit for a good recipe every time we use it!
Andrea says
Hey there!
At the top of the print out under GM the prep and cook times it says Author:Andrea
Hope that helps! 😀
Marina says
Pie crust worked out perfectly! Used it for an apple pie. Wish I could upload a pic. 🙂
Andrea says
I wish you could too! Would love to see it! If you are on Instagram or FB you can always post and tag @mypocketkitchen. So happy it turned out!
Kevin says
Loving your blog.
Andrea says
Thanks Kevin! So happy to hear that!